
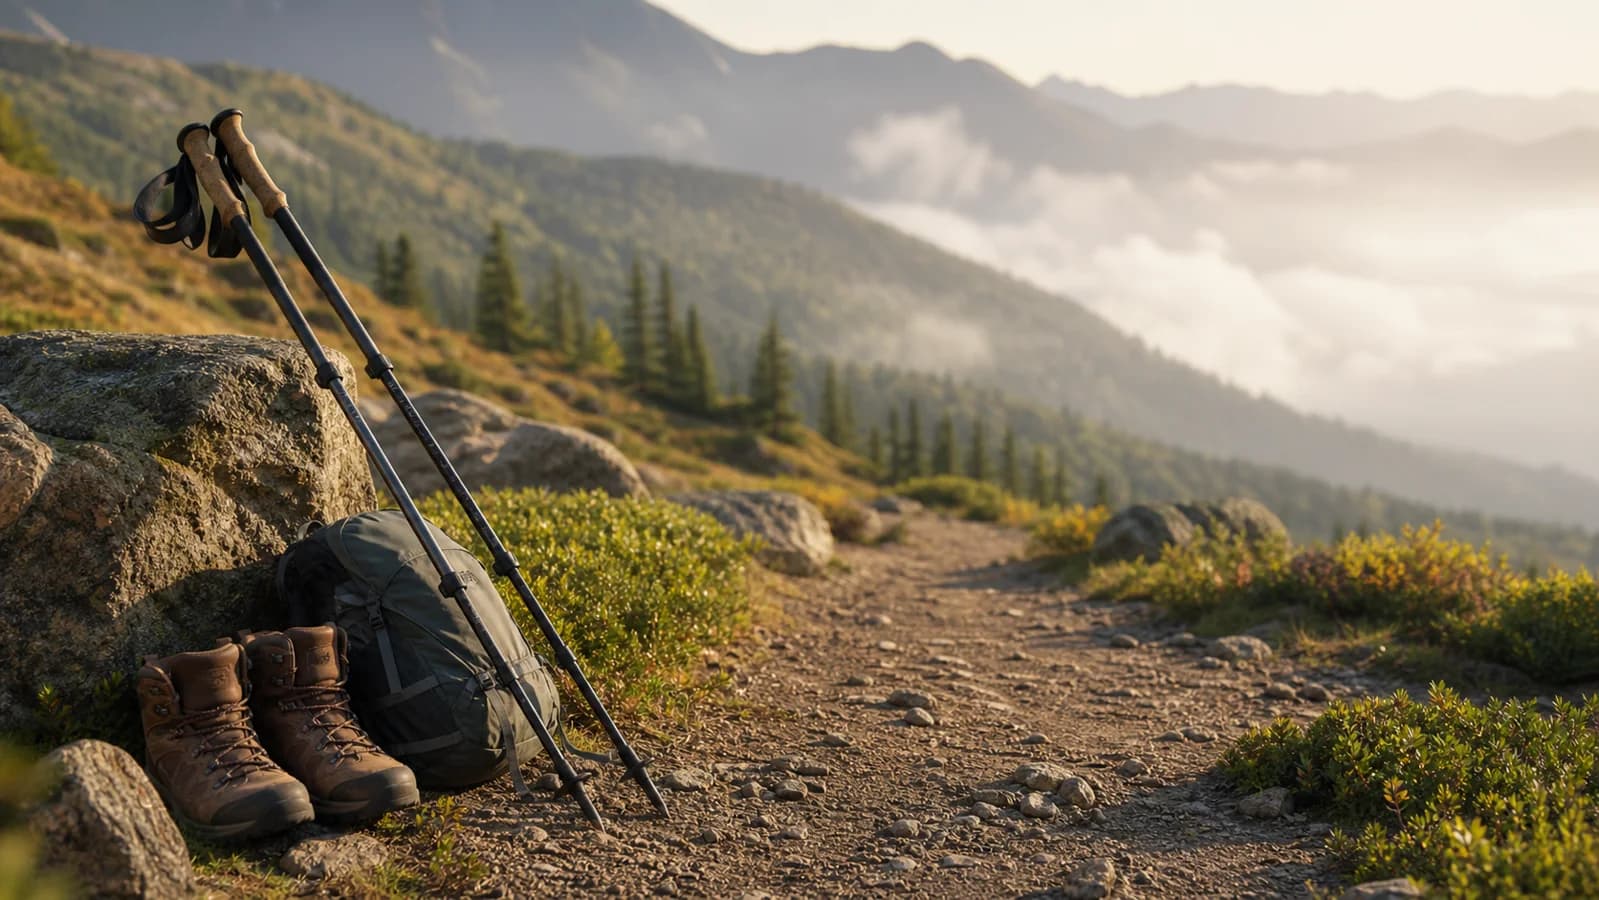
This how to choose trekking poles explains the practical criteria that matter most, including trip length, terrain, fit, comfort, and realistic gear trade-offs. Use it as a decision framework, then adjust the recommendation to your route, conditions, and experience.
Why Trekking Poles Matter on the Trail: how to choose trekking poles
Trekking poles reduce stress on your knees, especially on descents, and improve balance on uneven or slippery terrain. Research consistently shows they decrease joint loading during uphill and downhill travel, making them useful on both short day hikes and multi-day trips. Beyond physical benefit, poles create a more rhythmic walking motion that many hikers find reduces fatigue over long distances.
For beginners building a hiking gear checklist, poles often land near the bottom of the list—but they shouldn't. Even on moderate trails, poles help you navigate stream crossings, loose gravel, and steep sections with more confidence. They also free up your hands for grabbing handrails or checking a map, which ties directly into day hike essentials for anyone asking what to pack for a first hike.
- Reduced knee strain on descents
- Improved balance on technical terrain
- More efficient uphill rhythm
- Free hands for navigation or scrambling
Key Factors to Evaluate When Choosing Trekking Poles
Material drives most of the decision. Aluminum poles are durable and affordable, handling rough use without breaking the bank. Carbon fiber poles are lighter and absorb more vibration, which matters on long days, but they cost more and can crack under lateral impact. If you are building a hiking backpack size guide for yourself, note that heavier aluminum poles affect how much gear you can comfortably carry.
Adjustability matters for shared use or variable terrain. Three-section folding poles pack small—useful if you strap them to the outside of a pack—but telescoping poles offer more precise length adjustment for uphill versus downhill sections. Locking mechanisms vary: twist locks are simple but can slip in cold or wet conditions, while lever-lock (speed cone) systems are faster to adjust and generally more reliable. Always test the lock before buying.
- Material: aluminum vs carbon fiber
- Adjustability: folding vs telescoping
- Grip type: cork, foam, or rubber
- Lock mechanism: twist vs lever-lock
- Wrist straps: padded, adjustable, or minimal
Choosing Poles for Different Hiking Needs
Day hikers who stick to maintained trails usually benefit from lightweight folding poles that pack into a backpack side pocket. If you are following a hiking backpack size guide for a daypack in the 20–30 liter range, telescoping poles add bulk when extended, so folding poles make more sense. Multi-day backpackers carrying heavier loads may want sturdier, adjustable poles that can handle higher impact forces on rough terrain.
Technical terrain changes the calculation. Rocky ridgelines and scree fields call for poles with carbide or steel tips for grip on hard surfaces. Snow travel or soft trail conditions favor wider powder baskets to keep poles from sinking. If you frequently switch between summer trails and winter routes, look for poles that accept interchangeable baskets. This kind of versatility often appears in an outdoor travel planning phase, when you are mapping out different seasonal goals.
- Day hikes: folding, lightweight (under 16 oz per pair)
- Backpacking: adjustable telescoping, sturdier build
- Technical terrain: carbide tips, durable locks
- Winter or soft terrain: large baskets, robust shafts
Common Mistakes to Avoid
Buying poles solely on price is the most frequent error. Ultra-cheap poles often use flimsy locks that fail mid-trek, creating a safety issue on steep terrain. Conversely, buying the most expensive carbon poles for occasional flat walks wastes budget you could spend on other day hike essentials like a quality rain shell or better footwear.
Ignoring grip comfort is another oversight. Poles feel different in a store than after an hour on the trail. Thin grips transfer vibration directly to your hands, which becomes painful on hard-packed trails. If you have smaller hands, check that the grip diameter and wrist strap size work for you. Pole length also matters: standing flat, your elbow should bend at roughly 90 degrees when the tip is planted beside your foot.
- Avoid buying on price alone—check lock reliability
- Don't skip grip comfort testing, even briefly
- Don't ignore correct sizing for your height
- Don't use poles without checking locks after storage
Practical Trade-offs: Weight, Durability, and Cost
Every pole decision involves trade-offs. Lighter poles reduce arm fatigue but typically cost more and sacrifice some durability. Heavier aluminum poles handle abuse and are easier to repair on the trail, making them a practical choice for beginners still building out a full packing checklist. Carbon poles are worth the premium if you carry a heavier pack or hike frequently, but they are less forgiving of hard impacts.
The water bottle vs hydration reservoir debate sometimes intersects with pole choice. Hikers using hand-held bottles can struggle to pole plant without stopping, while hydration hose users keep both hands free. If you are weighing these systems, know that pole adoption is generally easier with a hydration reservoir since you do not need to break stride to drink.
- Light vs durable: carbon saves weight, aluminum lasts longer
- Cost vs frequency: frequent hikers benefit most from premium poles
- Pace efficiency: hydration systems pair better with consistent pole use
Safety Tips and Proper Technique
Pole technique matters more than most beginners realize. On descents, plant the pole slightly ahead and keep your wrists neutral rather than heavily bent—this reduces strain. On ascents, shorten your stride and drive with your legs, letting poles add propulsion without overstriding. Trail etiquette also applies: on narrow sections with other hikers, lower your poles to avoid catching someone's pack or clothing.
Pole tips wear down over time. Check them before each hike and replace when they become rounded or cracked. Rubber tips and mud caps are worth carrying to extend tip life on hard surfaces and protect them during travel.
- Keep wrists neutral on descents to avoid strain
- Shorten poles for ascents, extend for descents
- Check tips before every hike and replace when worn
- Lower poles in tight or crowded trail sections
Maintenance for Long-Term Performance
Rinse poles after sandy or salty outings, especially the locking mechanisms. Debris in twist locks is the most common cause of slipping. Periodic disassembly and cleaning of the shaft sections extends lock life significantly. If your poles use carbide tips, inspect for cracks—damage here compromises grip on rock and ice.
Store poles fully extended in a dry environment. Compressing sections with moisture inside leads to corrosion, especially in aluminum poles. For travelers who mix camping and hiking in their trip planning, a dedicated pole bag prevents damage to other gear during transport.
- Rinse locks after sandy or wet outings
- Disassemble and dry shaft sections periodically
- Store extended in a dry, temperature-stable space
- Use a pole bag when traveling with other gear